


Hey there! As a supplier of school air disinfection machines, I've seen firsthand how crucial it is to install these devices correctly. A well - installed air disinfection machine can significantly improve the air quality in schools, protecting students and teachers from harmful germs and pollutants. In this blog, I'll share some tips on how to install a school air disinfection machine the right way.
1. Choose the Right Location
The first step in installing a school air disinfection machine is to pick the perfect spot. You want to place it in an area where it can have maximum airflow and cover the largest area possible.
-
Classrooms: In classrooms, it's best to place the machine near the front of the room. This way, the purified and disinfected air can be distributed evenly among the students and the teacher. Avoid putting it right next to large objects or furniture that may block the airflow.
-
Hallways: For hallways, position the machine at regular intervals. You don't want to overcrowd one area while leaving others with poor air circulation. Try to place them at a height where the air can be drawn in efficiently from all directions.
-
Gymnasiums and Auditoriums: These large spaces require special consideration. Place the air disinfection machines in the corners or along the walls, ensuring that the air circulation pattern covers the entire area. You might need multiple machines for these large areas.

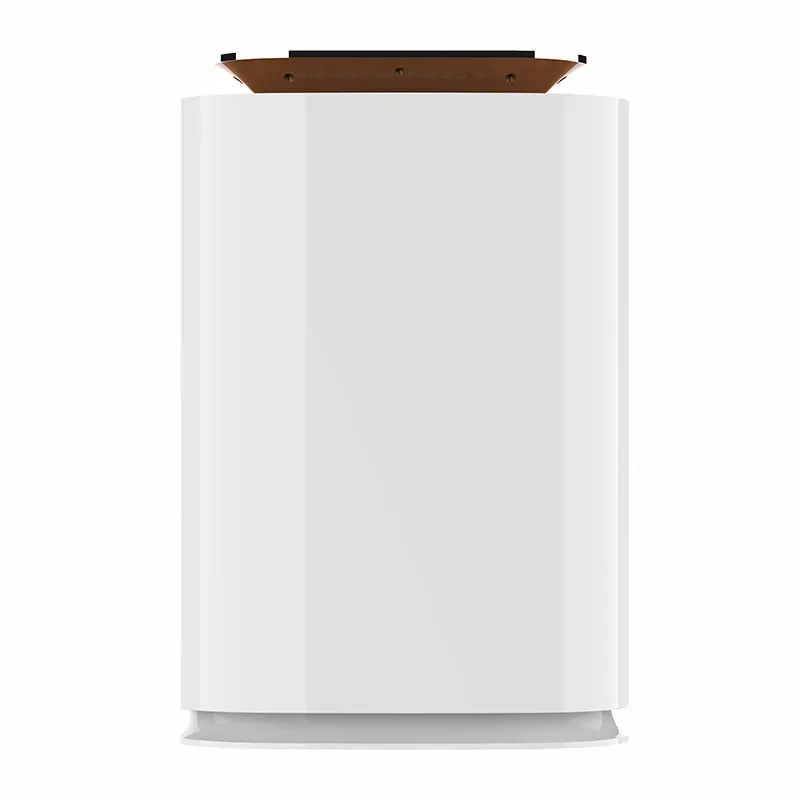
2. Check the Power Supply
Before you start the installation, make sure you have a reliable power supply.
- Voltage Compatibility: Different air disinfection machines have different voltage requirements. Check the label on the machine to make sure it matches the voltage of the school's electrical system. If you're not sure, consult an electrician.
- Outlet Availability: Ensure that there are enough outlets near the chosen installation location. You may need to use power strips, but make sure they are rated for the power consumption of the air disinfection machine. Avoid overloading circuits.
3. Mounting the Machine (if applicable)
Some air disinfection machines need to be mounted on the wall or ceiling.
- Wall - Mounting: If you're wall - mounting the machine, use the appropriate hardware provided by the manufacturer. Make sure the wall is strong enough to support the weight of the machine. You may need to drill holes into the wall, so it's a good idea to have someone with experience help you.
- Ceiling - Mounting: Ceiling - mounting requires more caution. You'll need to carefully measure and mark the location to ensure the machine is centered and level. Use ceiling brackets that are designed for this purpose. It's crucial that the installation is stable to prevent the machine from falling.
4. Connecting the Ductwork (if required)
Certain air disinfection machines are connected to the school's HVAC system through ductwork.
- Proper Sizing: The ductwork should be sized correctly to match the airflow requirements of the air disinfection machine. Incorrect sizing can cause reduced efficiency and increased energy consumption.
- Tight Sealing: Make sure all the connections between the machine and the ductwork are tightly sealed. Leaky ducts can allow contaminated air to bypass the disinfection process. You can use duct tape or other sealing materials recommended by the manufacturer.
5. Commissioning and Testing
Once the machine is installed, it's time to commission and test it.
- Initial Start - up: Follow the manufacturer's instructions to start the machine for the first time. Check for any error messages or unusual noises.
- Airflow Testing: Use an anemometer to measure the airflow at the outlet of the machine. Compare the readings with the manufacturer's specifications to ensure that the machine is operating at the correct airflow rate.
- Disinfection Efficiency Testing: Some advanced machines come with built - in sensors to measure the disinfection efficiency. Consult the manufacturer or a professional service provider for more in - depth testing if needed.
The Importance of Proper Installation
Installing a school air disinfection machine correctly is not just about getting it up and running. A proper installation can have a significant impact on the machine's performance and lifespan.
- Improved Air Quality: A well - installed machine can effectively remove pollutants, viruses, and bacteria from the air, creating a healthier environment for everyone in the school.
- Energy Efficiency: Correct installation ensures that the machine operates at its optimal efficiency, reducing energy consumption and saving costs in the long run.
- Longer Lifespan: When the machine is installed correctly, it experiences less stress and wear, which can extend its lifespan. This means fewer replacements and lower maintenance costs for the school.
Our Product Range
We offer a variety of school air disinfection machines to meet different needs. Here are some of our popular products:
- Formaldehyde Removal Air Purifier: This purifier is designed to specifically target formaldehyde, a common indoor pollutant.
- Odor Removal Disinfection Machine: Ideal for removing unpleasant odors in school restrooms, cafeterias, and other areas.
- Electrostatic Air Purifier: Uses electrostatic precipitation technology to capture tiny particles and pollutants.
- Commercial Air Sanitizer Machine: Suitable for large - scale commercial spaces like school gymnasiums and auditoriums.
- Smart Room Air Disinfection Machine: Equipped with smart features for easy operation and monitoring.
Let's Talk
If you're interested in purchasing our school air disinfection machines or need more information about installation and maintenance, we'd love to hear from you. Feel free to reach out to us for a detailed consultation. Our team of experts is ready to help you choose the right product and ensure a proper installation for your school.
References
- Manufacturer's installation manuals of air disinfection machines.
- Guidelines from the HVAC industry for air quality control in educational institutions.


